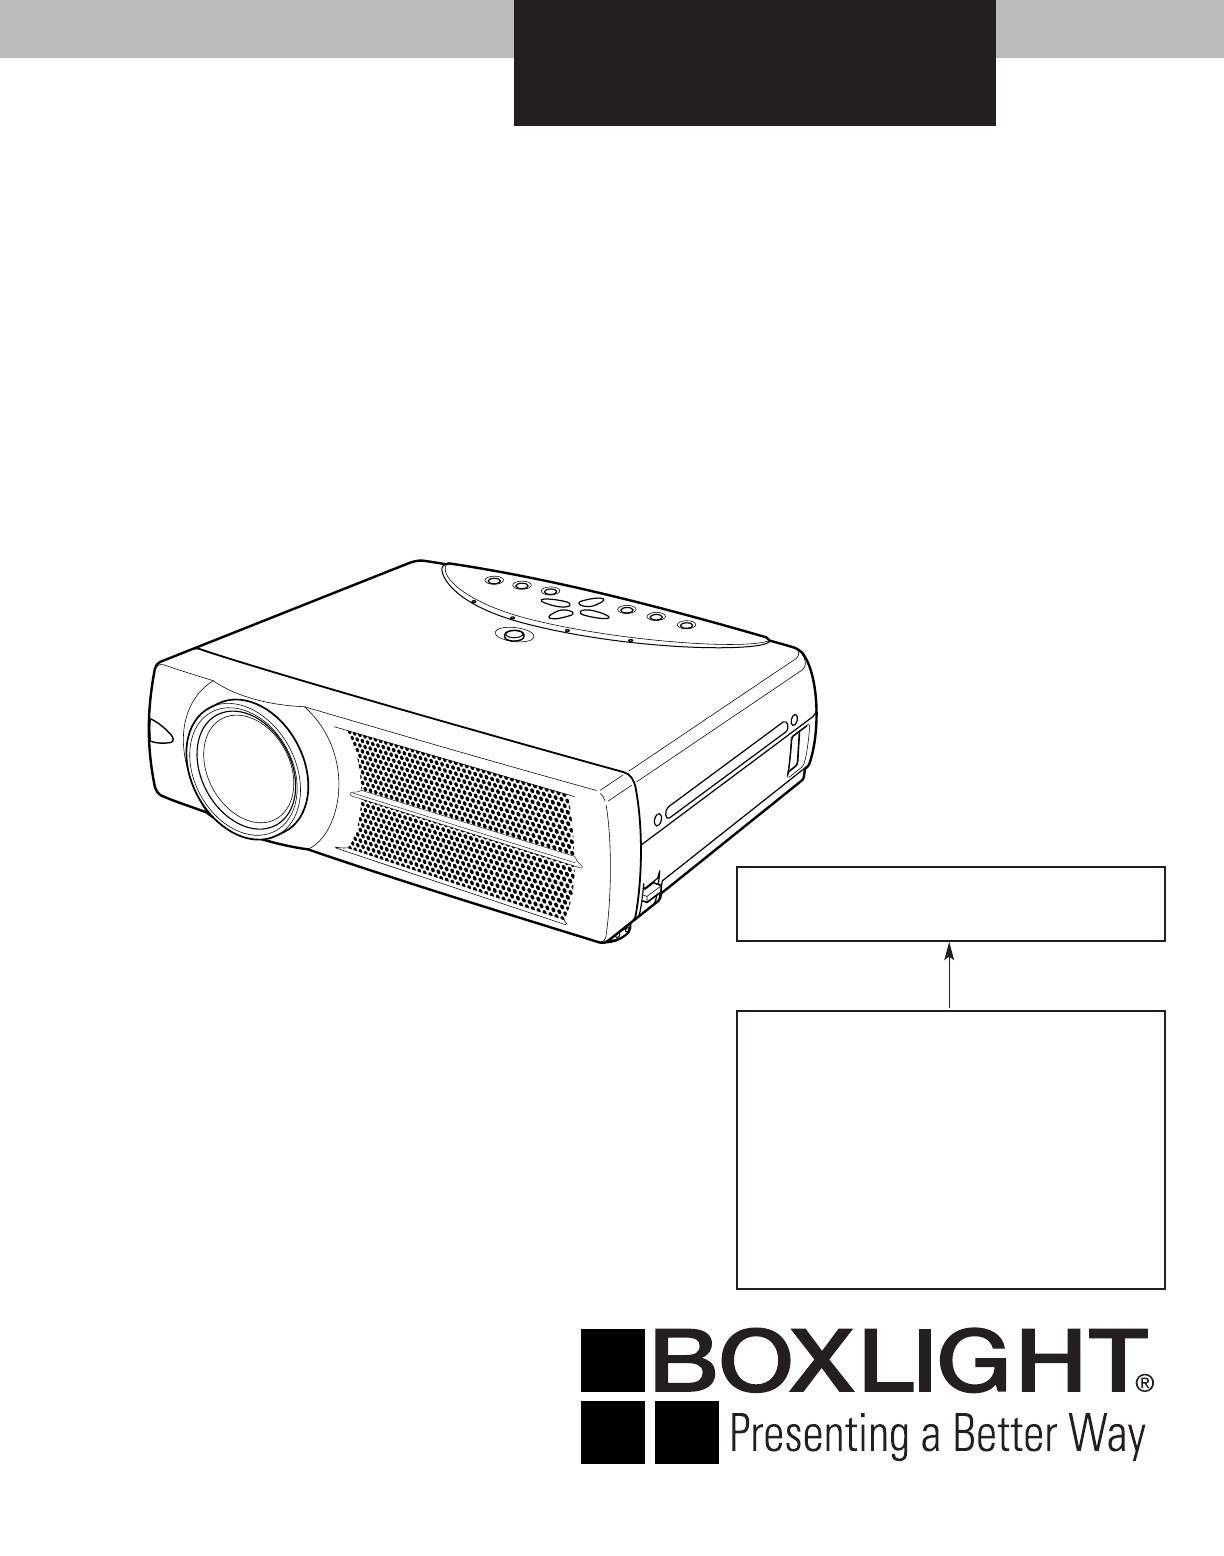
BOXLIGHT CP-12tA Instrukcja Obsługi
Przeglądaj online lub pobierz Instrukcja Obsługi dla Projektory BOXLIGHT CP-12tA. BOXLIGHT CP-12tA Service manual Instrukcja obsługi
- Strona / 107
- Spis treści
- ROZWIĄZYWANIE PROBLEMÓW
- BOOKMARKI
- BOXLIGHT CP-12ta 1
- ■ Contents 2
- ■ Safety Instructions 3
- ■ Specifications 4
- Disassembly / Replaced Parts 5
- Optical Adjustments 5
- ■ Circuit Protections 6
- ■ Mechanical Disassemblies 8
- , Optical Unit removal (1) 11
- , Optical Unit removal (2) 12
- ⁄0 Fan (FN905) removal 13
- ■ Optical Parts Disassemblies 14
- , Optical Unit Top removal 17
- Locations and Directions 18
- Do not replace the LCD 19
- ■ Lamp Replacement 20
- 0100 HOURS 20
- 0025 HOURS 20
- 0158 HOURS 20
- ■ Optical Adjustments 21
- A with the 2.0mm hex driv 22
- C with the 2.0mm hex driv 22
- C with the 2.0mm hex driver 23
- ■ Electrical Adjustments 25
- ● Circuit Adjustments 26
- Signal Center adjustment 27
- PSIG adjustment 27
- Gain adjustment [PC] 27
- Gain adjustment [Video] 27
- . Common Center adjustment 28
- , Gamma Gain adjustment [AV] 28
- ⁄2 White Balance adjustment 29
- Test Points and Locations 30
- Electrical Adjustments 31
- ■ Chassis Block Diagrams 34
- Chassis Block Diagrams 35
- Motor driving circuit 38
- System controls 39
- POWER BOARD 41
- MAIN BOARD 41
- ■ Troubleshooting 42
- No Picture 43
- Check following steps 43
- Lens Motor Problems 45
- No Sound 45
- ■ Control Port Functions 46
- Control Port Functions 47
- ■ Waveform 48
- ■ Cleaning 49
- ■ IC Block Diagrams 50
- IC Block Diagrams 51
- ● M62392 <D/A, IC3561> 55
- ■ Electrical Parts List 59
- Noise Filter 60
- MB3-CP-12ta00 61
- Electrical Parts List 62
- DVI BOARD 64
- ACCESSORIES 81
- R/C BOARD 81
- ■ Mechanical Parts List 83
- ● Optical PARTS 84
- Mechanical Parts List 85
- Schematic Diagrams 91
- Printed Wiring Board Drawings 91
- ■ Diagrams & Drawings 91
- Coil Reading 92
- Capacitor Reading 92
- Resistor Reading 92
- Diode/Transistor Type Reading 92
- ● Transistor/FET 93
- LAMP BALLAST 95
- 1AV4U20B51800 95
- R2004-R2015 96
- R2023-R2030 96
- R3051-R3062 96
- MAIN-1/5 97
- MAIN-2/5 98
- MAIN-3/5 99
- MAIN-4/5 100
- MAIN-5/5 101
- A10 SCH_PK7AA 102
- ! CAUTION 103
- 1AA4B10C3350A A SIDE 104
- PCB_PK7AA A13 105
- A14 PCB_PK7AA 106
- 1AA4B10C3370A 107
Podsumowanie treści
SERVICE MANUAL ORIGINAL VERSIONREFERENCE NO. SM5110504-00BOXLIGHT CP-12taSERVICE MANUAL Chassis No. MB3-CP-12ta00NOTE: Match the Chassis No. on t
-10-Mechanical Disassemblies1 Remove 1 screw A (M3x4) and remove SW902, and then remove 1 screwB (M3x6) and disconnect the Lamp Socket.2 Remove 2 scre
GNDVCCVCCGNDVCCGNDVCCGNDGNDVCCVCCGNDX2S1SDCLKREFGNDVDDX1<TOP_VIEW>VDDTESTSCLSDAVSSA2A1A0A16BYTEVSSD15D7D14D6D13D5D12D4VCCD11D3D10D2D9D1D8D0OEVSS
VDDTESTSCLSDAVSSA2A1A0VCOM OFSMCLKXMCLKD_IN0D_IN1D_IN2D_IN3D_IN4D_IN5D_IN6D_IN7D_IN8GNDGNDD_IN9VCC15PVCCSHOUT1N.C.SHOUT2N.C.GNDPGNDGNDSHOUT4N.CSHOUT5N
12345678910111213141516 ABCDEFGHIJKABCDEFGHIJKLA10 SCH_PK7AA
PCB_PK7AA A11L11IC5001C031C5001C5002K10Y391Q031R031R032R033R0348IC00116891K10T391K10U531K20APB1PB4R5117K100GQ5112A SIDE4C204C207C50049IC2019IC22111681
L1D2807C5642IC5651C5654C5651IC5671C2807C2806D2806C5671C5674C5681R2808D2808R5683R5681R5653R5652R5651R5643R5642R2807R2806D5681D5671D5651PB7142IC2701C270
L8 B SIDEC5685C2791C5641C5653C5644C5652C5673K8GC5672R2707C2751C402C1575C1577R1575C5663C5662C1480C1566C5683C5682C6601K8RL6601R1572R1573R1574R2708R2709R
A14 PCB_PK7AA444222333111???***1AA4B10C3250A_B171011239401431+1458+1313131458854114581346643185411458L671L681C659K6FC691C692L692L691L661C661K6TC693C63
PCB_PK7AA A15FOCUSZOOMSELECTRIGHTVOL+DOWNUPLEFTVOL-MENUIMAGEINPUTREADY(GREEN)WARNING TEMP.(RED)LAMP REPLACE(YELLOW)A SIDE1AA4B10C3370AON-OFFPOWER LAMP
-11-Mechanical Disassemblies1 Remove 4 screws A (M3x12) to take the Fan(FN901) off.2 Remove 4 screws B (M3x8) to take the Fan(FN906) off.3 Remove 3 sc
-12-Mechanical DisassembliesStep from previous procedure.3 Remove 6 screws C (M3x8) to take the Optical Unit upward upward off.To mount optical unit,
-13-1 Remove 1 screw A (M3x6) and take a Washer,Spring and Interlock Switch lever.2 Pull the Fan and duct ass’y upward, then remove the2 screws B (M
-14- Optical Parts DisassembliesBefore taking this procedure, remove Cabinet Top and Main Board following to the “Mechanical Disassemblies”.Disassemb
-15-Optical Pats Disassemblies1 Remove 2 screws A (M2.5x6) and pull the Condenser Lens ass’y upward.2 Remove 4 screws B (M2x4) to take the Lens off fr
-16-Optical Parts Disassemblies1 Remove 2 screws A (M2.5x6) and pull the Relay Lens-Out ass’y upward.2 Remove 2 screws B (M2x4) to take the Lens off f
-17-Optical Parts Disassemblies1 Remove 4 screws A (M2.5x4) and take the LCD/Prism ass’y off upwardfrom the optical unit.2 Remove each screw B and tak
589Fig.9241The printed markercomes this side.1337106121 Mirror (W)2 Integrator lens (OUT)3Prism beam splitter (PBS)4 Dichroic mirror (B)5 Condenser le
-19- LCD Panel/Prism Ass’y ReplacementIMPORTANT NOTICE on LCD Panel/Prism Ass'y ReplacementLCD panels used for this model can not be replaced se
-2- Contents Safety Instructions ________________________________________________3 Specifications _________________________________________________
-20- Lamp ReplacementThe LAMP REPLACEMENT indicator will illuminatewhen the total lamp used time reaches 2000 hours.The total lamp used time is calcu
-21- Optical Adjustments[Before Adjustment]- Input a 100% of black raster signal.[R/G/B-CONTRAST ADJUSTMENT]1 Loosen a screw A (Fig.1-1/1-2) on the p
1 Tu rn the projector on by a state of without FPC cables.2 Project only green light on the screen.3 Adjust the adjustment base of condenser lens assy
-23-Optical Adjustments1 Tu rn the projector on by a state of without FPC cables.2 Project green and blue lights on the screen.3 Adjust the adjustment
1 Tu rn the projector on by a state of without FPC cables.2 Project all of lights on the screen.3 Adjust the adjustment base of relay lens assy to mak
-25- Electrical AdjustmentsTo enter the service modeTo enter the “Service Mode”, press and hold the MENU and IMAGE button on the projector at the sa
-26-[Adjustment Condition]● Input signalVideo signal ... 1.0Vp-p/75Ω terminated, 16 steps grayscale (Composite video signal)Com
-27-Electrical Adjustments1. Receive the 16-step grey scale computer signal withComputer [Analog RGB] mode.2. Enter the service mode.3. Connect a digi
-28-Electrical Adjustments1. Receive the 1 dot black & white pattern computer sig-nal with Computer [Analog RGB] mode.2. Enter the service mode.3.
-29-Electrical Adjustments1. Receive the 16-step gray scale computer signal withComputer [Analog RGB] mode.2. Enter the service mode.3. Connect an osc
-3- Safety InstructionsWARNING:The chassis of this projector is isolated (COLD) from AC line by using the converter transformer. Primary side ofthe c
-30-TP12V1TP12V2K5RTP505RTP506RIC401K8BK5BK5GTP3501TP501BTP502BTPV3143IC3801TPV3148TP503GTP504GIC3101IC531TP3531K8AIC801IC811IC501TP6201TP6241TP6221K8
-31-1 R-VIDEOCNT M62392P/FP 150 150 1502G-VIDEOCNT M62392P/FP 150 150 150 ✻ Video Center Adjustment3B-VIDEOCNT M62392P/FP 150 150 1504 R-SubGain CXD35
-32-61 V-Line Color Shading Correction Setting (B_OFFSET 4) CXD3526GG 062 V-Line Color Shading Correction Setting (B_OFFSET 5) CXD3526GG 063 V-Line Co
-33-131 Lamp use time in min.ADC272 REDGAIN AD9884 180 212 N/A273 GRNGAIN AD9884 180 212 N/A274 BLUGAIN AD9884 180 212 N/A275 REDOFST AD9884 32 N/A276
-34-IC1803D/AIC1804D/AIC1805D/AIC1806D/AIC1813D/AIC1814D/AIC1822BUFERIC1823BUFFERIC801FLASHROMIC811S-RAMPC1/PC2PC1/PC2PC/AVVHSVVSPC/AVPC/AVDVIIC201IC3
-35-1MNTOUTPC/AV7,2,12S-VIDEO/VIDEOPC1/PC2 PC/AVIC7201MATRIXIC301SYSTEMCONTROL&SCANCONVERTERPC1DVI-IPC2IN/OUTD-SUBC-VIDEOS-VIDEOCOMPONENTIC5201PC/
-36-Chassis Block DiagramsIC301SCANCONVERTER&SYSTEMCONTROLIC401LCD DRIVER<CXD3526>IC3501PSIG<LT1206>IC3531PSIG<LT1206>B-LCDPANEL
-37-Chassis Block DiagramsQ021Q031Q041Q014Q011Q012Q013121125142131133109684131216191112131421-22 19-20 17-1831K10UK10TK3TK8FK3UIC301SYSTEMCONTROLPSCLP
-38-Chassis Block DiagramsIC5551FOCUS DRIVE<BA6287>IC7801D/A<M62392>IC1805D/A<MTC74LCX>MFOCUS16,711,124,54,57IC5501ZOOM DRIVE<BA6
-39-Chassis Block DiagramsKEY SWMNTOUT_SW5PC/AV_SW5S_SWCB_SWCR_SWR/CPOWER_FAILMUTE5R/CPOW_LEDTEMP_LEDREADY_LEDLAMP_REP_LEDMUTEFANDRIVES/CV_SWPC/AV_SWD
-4- Specifications● The specifications are subject to change without notice.This symbol on the nameplate means the product is Listed by UnderwritersL
-40-Chassis Block DiagramsIC301SYSTEM CONTROL<PW161B-10>FANDRIVEPOWER_FAILLAMP_BST_SWLAMP_ERRLAMP_POW5V_SW2.5VS 6VSIC5641D564112V 15.5VIC5281D52
-41-Chassis Block DiagramsFAN_CONT1POWER_FAILPSDAPSCLD69CD67QQ67QQ69AD69DD67DK6JK6KK6MK6LFN901FN902FN903FN905FN906121212D69BFN90413867322121383D8D1514
-42- TroubleshootingNo PowerReset switchThe microprocessor inside the projector may occasionallymalfunction and does not allow any controls. In this
-43-TroubleshootingNo PictureNo picture with all ofinput sourcesCheck signal processing stage and LCD driving stage;Check RGB S&H signals at test
From previouspage-44-TroubleshootingCheck AV source selecting stage;Check S-video signal (Y/C) on the AV board.Check IC2101, Video/S-Video-sw, and IC3
-45-Lens Motor ProblemsTroubleshootingNo SoundLogic Table of IC5501/IC5551Input Output Operation45 71HL LHForward driveLHHLReverse driveHH LLBrakingL
-46- Control Port Functions● System Control & I/O Port TableIC301 PortA0 I/O ROMWEL For ICEPortA1 I/O ROMWEH For ICEPortA2 I/O BOOTWE For ICEPort
16 O CTS Not used17 O Not used Not used18 O KEY_WE Not used19 O DSINV_SW Not usedIC1822 2IKI1 Main Key Switch3IKI2 Main Key Switch4IKI3 Main Key Switc
-48- WaveformVIDEO-IN <TPV3143> HS signal <TPHS>VS signal <TPVS>DHS signal <TPDHS> DVS signal <TPDVS>S&H-B <TP50
-49- CleaningCleaning with air spray1. Remove the cabinet top following to “MechanicalDisassemblies”.2. Clean up the LCD panel and polarizing plate b
-5-● : Adjustment necessary ❍ : Check necessary Adjustments after Parts ReplacementContrast AdjustmentR-Contrast adjustment ●G-Contrast adjustment ●B
-50- IC Block Diagrams● AD8075 <Selector, IC201>● AD8183ARU <Selector, IC1201>● AN7513 <Audio-Amp, IC5001>
-51-● AN5870SB <RGB-SW, IC5201>IC Block Diagrams● AD9884AKS <A/D, IC8201>
-52-IC Block Diagrams● AV9155C <Clock Driver, IC1301>REFERENCECLOCKCPUCLOCKOUTPUTBUFFERS2XCPUCPUAGNDPOWER-DOWNGNDVDD14.318MHz14.318MHzSCLK20-223
-53-● CXA7000R <D/A, S/H-LCD Driver, IC501, IC1501, IC530, IC1531, IC561, IC1561>IC Block Diagrams● BA7078 <Sync Separator, IC5341>
-54-IC Block Diagrams● CXD3526GG <LCD Driver, Timing Generator, IC401>● FA5502 <P.F. Control, IC611>
-55-● LA7217 <Sync Separator, IC5361>● M62392 <D/A, IC3561>IC Block Diagrams
-56-● NJM2284M <Switch, IC2101>IC Block Diagrams● M62393 <D/A, IC281, IC7801>
-57-● PW164B-10 <System Control & Scan Converter, IC301>IC Block Diagrams● STR-Z2156 <Power Switching Control, IC631>
-58-IC Block Diagrams● VPC3230D <Video Decoder, IC3101>CINVIN1VIN2VIN3VIN4VOUTAnalog Front-endAGC 2XADCAdaptive Comb FilterNTSC PALColour Decode
MB3-CP-12ta00-59- Electrical Parts ListProduct safety should be considered when a component replacement is made in any area of a projector. Component
This projector provides the following circuit protections to operate in safety. If the abnormality occurs inside the pro-jector, it will automatically
MB3-CP-12ta00Electrical Parts List-60-● OUT OF CIRCUIT BOARDNote: Parts order must contain Chassis No., Part No., and Descriptions. F601FuseSW902Therm
MB3-CP-12ta00-61-Electrical Parts List! 610 301 3954 ASSY,PWB,AV MA3A! 610 301 3961 ASSY,PWB,DVI MA3A! 610 309 4854 ASSY,PWB,KEY SW MB3E ! 610 303
MB3-CP-12ta00Electrical Parts List-62-405 015 8902 TR 2SC2812-L7-TB 405 163 1602 TR 2SC2812N-L6-TB0 405 163 1701 TR 2SC2812N-L7-T
MB3-CP-12ta00-63-Electrical Parts ListC012 403 175 4802 NP-ELECT 10U M 10V C021 403 164 0204 CERAMIC 0.1U Z 25V C031
MB3-CP-12ta00Electrical Parts List-64-R212 401 105 0405 MT-GLAZE 100 JA 1/16W R213 401 105 0504 MT-GLAZE 1K JA 1/16W R214
MB3-CP-12ta00-65-Electrical Parts List405 173 9605 TR 2SA1235A1E 405 173 9704 TR 2SA1235A1F Q3072 405 134 5905 TR 2SA
MB3-CP-12ta00Electrical Parts List-66-405 015 8704 TR 2SC2812-L6-TB 405 015 8902 TR 2SC2812-L7-TB 405 163 1602 TR 2SC2812N-L6-T
MB3-CP-12ta00-67-Electrical Parts List405 015 8902 TR 2SC2812-L7-TB 405 163 1602 TR 2SC2812N-L6-TB0 405 163 1701 TR 2SC2812N-L7-T
MB3-CP-12ta00Electrical Parts List-68-IC711 409 347 5400 IC M51204FP-600C IC7201 409 528 6608 IC LC749400W IC721
MB3-CP-12ta00-69-Electrical Parts ListC3143 403 205 2808 CERAMIC 0.047U K 25V C3144 403 325 6304 CERAMIC 0.22U K 10V C3146
-7-Circuit Protections● Warning temperature and power failure protectionThe projector will be automatically turned off when the internal temperature o
MB3-CP-12ta00Electrical Parts List-70-C536 403 229 3508 ELECT 100U M 16V 403 335 0408 ELECT 100U M 16V C5361 403 364 58
MB3-CP-12ta00-71-Electrical Parts ListC8021 403 155 1500 CERAMIC 180P J 50V C8022 403 169 2807 CERAMIC 330P J 50V C8023
MB3-CP-12ta00Electrical Parts List-72-RB8254 645 036 0985 R-NETWORK 47X4 1/32W 645 037 0830 R-NETWORK 47X4 1/32W RB8256 645 036 0
MB3-CP-12ta00-73-Electrical Parts ListR3108 401 105 0405 MT-GLAZE 100 JA 1/16W R3109 401 105 0405 MT-GLAZE 100 JA 1/16W R3110
MB3-CP-12ta00Electrical Parts List-74-R416 401 105 0306 MT-GLAZE 10 JA 1/16W R417 401 105 7909 MT-GLAZE 0.000 ZA 1/16W R418
MB3-CP-12ta00-75-Electrical Parts ListR546 401 105 2607 MT-GLAZE 22 JA 1/16W R547 401 105 7909 MT-GLAZE 0.000 ZA 1/16W R548
MB3-CP-12ta00Electrical Parts List-76-R7803 401 105 0405 MT-GLAZE 100 JA 1/16W R7804 401 105 0405 MT-GLAZE 100 JA 1/16W R7806
MB3-CP-12ta00-77-Electrical Parts ListCOIL L1301 645 020 1776 INDUCTOR,3.3U M L1302
MB3-CP-12ta00Electrical Parts List-78-405 173 9902 TR 2SC3928A1S Q651 405 014 4509 TR 2SC2412K T146 R 405 014 4608 TR 2S
MB3-CP-12ta00-79-Electrical Parts ListR5505 401 105 5301 MT-GLAZE 4.7K JA 1/16W R5506 401 105 5301 MT-GLAZE 4.7K JA 1/16W R5551
1 Remove 4 screws A (M3x6) to take the Cabinet Top Ass’y upward off.2 Remove the Control Panel off from the Cabinet Top by lifting the edge ofcontrol
MB3-CP-12ta00Electrical Parts List-80-D652B 411 174 4808 SCR S-TPG PAN+SWW 3X8 D653 407 190 4106 DIODE SFPL-52V D654
MB3-CP-12ta00-81-Electrical Parts List!C601 404 081 4702 MT-POLYEST 0.22U M 275V !C602 404 081 4702 MT-POLYEST 0.22U M 275V !C603
MB3-CP-12ta00Electrical Parts List-82-Key No. Part No. Description Key No. Part No. Description
MB3-CP-12ta00-83- Mechanical Parts ListNote: Parts order must contain Chassis No., Part No., and Descriptions.● CABINET PARTS1151237-a347-b2484713376
MB3-CP-12ta00-84-464444464444Mechanical Parts List4657564646● Optical PARTS
MB3-CP-12ta00-85-44445467 (Red)68 (Green)69 (Blue)444444Mechanical Parts List
MB3-CP-12ta00-86-434353-d (Green/Blue)61444446434653Mechanical Parts List53-a (Red)53-b (Green)53-c (Blue)
MB3-CP-12ta00-87-52-a524545454552Mechanical Parts List
MB3-CP-12ta00-88-Mechanical Parts List58 706371576065596466515562
MB3-CP-12ta00-89-Mechanical Parts ListCABINET PARTS 1 610 292 6972 BUTTON CONTROL-MS6B 2 610 292 6996 BUTTON ZOOM-MS6
-9-Mechanical Disassemblies1 Remove 1 screw A (M4x8) to release grounding wires.2 Pull the Rear Panel ass’y upward.3 Remove 4 screws B (T3x6) and remo
(MB3E) Jun 2003 BB 10 Printed in JapanBoxlight19332 Powder Hill PlacePoulsbo, WA 98370-7407 USAwww.boxlight.comU.S. and Canada 800-762-5757Internation
A1MB3-CP-12ta00Schematic DiagramsPrinted Wiring Board DrawingsModel Chassis No.CP-12ta MB3-CP-12ta00 Diagrams & DrawingsThese schematic diagrams
A2MB3-CP-12ta00 Parts description and reading in schematic diagram1. The parts specification of resistors, capacitors andcoils are expressed in desig
A16MB3-CP-12ta00 Pin description of diode, transistor and ICAKCBEC2C1B1 B2ECCBEKACBEB2B1C1C2EEBCB2B1C1C2EB2B1C1C2E1E2KAAAKKKAKACBECBECBE123456Index12
Diagrams & Drawings (MB3E)
1111111111222232 3232 3232 32535354543940403939394040403921302010GNDGND311105VS5VD5VGNDGNDGND-5VS1315.5VTURBO-ZOOM-FOCUS-GNDLAMP_BST_SW1FAN_DRIVE1P_FA
1239404039213579111315171921232527293133353710203037353331292725232119171513119753102030123456789101112131415161718192021222324252627282930DGNDIN2AGND
54321123940V-V+OUTI-ININ-++-IN I-INOUT V+V-V-V+OUTI-ININ-+VCCGND32FHVCOAFCCOUNTDOWNLOCKDETV.SEPSYNCSEP403921123940403921NCNCNCVSSSDASCLTESTVDDTO IC310
VDDTESTSCLSDAVSSA2A1A0GNDCR0CR1CR2CR3CR4CR5CR6CR7HGCRZ0CRZ1CRZ2CRZ3CRZ4CRZ5CRZ6CRZ7HSYNCSYNCFHINVDDGNDCLKTSTMOD2VSYNCY0Y1Y2Y3Y4Y5Y6Y7TSTMOD3YZ0YZ1YZ2Y
R1OUTR2INT2OUTV-C2-C2+C1-V+C1+R2OUTT2INT1INR1INT1OUTGNDVCCVSSVDD123940(IC1806 13P)(IC1822 8P)(MATRIX SAMPLE&HOLD)(SAMPLE & HOLD VIDEO DECORDE
Więcej dokumentów dla Projektory BOXLIGHT CP-12tA

Powiązane produkty i podręczniki dla Projektory BOXLIGHT CP-12tA
 (114 strony)


 (35 strony)
© 2020, manymanuals.pl. Wszelkie prawa zastrzeżone. | 0.047 s |
 Manymanuals.com
 Manymanuals.de
 Manymanuals.fr
 Manymanuals.it
 Manymanuals.pl
 Manymanuals.cz
 Manymanuals.es
 Manymanuals-pt.com
Komentarze do niniejszej Instrukcji